Help centre
How to use Pastea
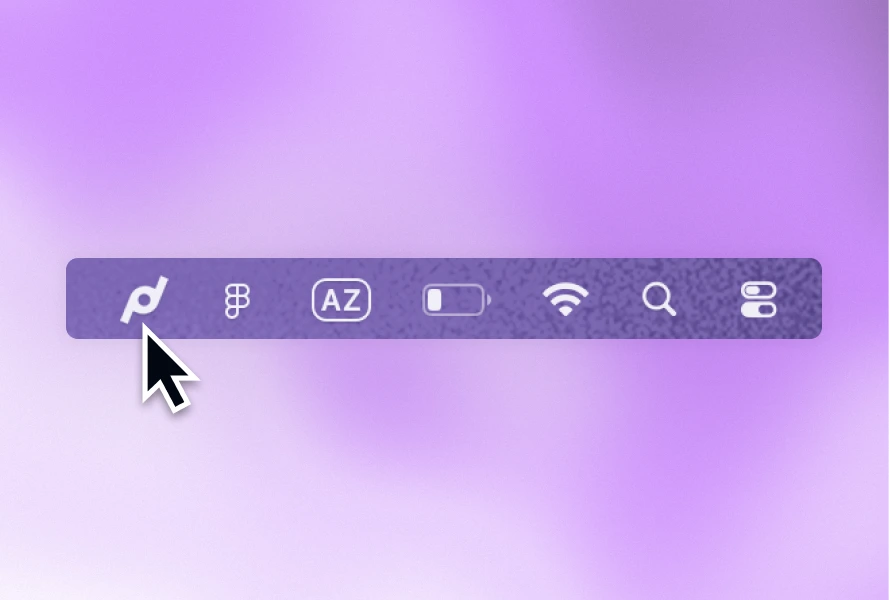
- Open the panel — Press ⌘⇧V anywhere, or click the Pastea icon in the menu bar. The panel slides in from the right without stealing focus from the app you were in.
- Find what you copied — Start typing to search, or press ↑ and ↓ to move through the list. The sidebar filters by Text, Code, Links, Images, Files and Screenshots.
- Paste it back — Click an item (or press Return) and Pastea pastes it straight into the app you came from. Right-click for Paste as Plain Text, Copy, Preview and more.
- Keep the good stuff — Pin items you use often, rename them so they are easy to find, and group them into lists from the right-click menu.
Questions
macOS only lets an app press ⌘V in another app if you grant Accessibility. Without it Pastea still copies the item to your clipboard — you just press ⌘V yourself. You can grant it any time in Settings → Privacy.
Screenshots you copy (⌘⌃⇧4) can appear in history. To also capture screenshots saved to a file (⌘⇧4), enable screenshot-folder capture and grant access to that folder. You can turn folder capture off in Settings.
When a password manager marks an item as concealed, Pastea recognizes that signal and can hide its content behind a lock badge. Concealed items are not used for link previews, and you can stop saving them entirely in Settings → Privacy. A third-party app may fail to mark sensitive content, so consider excluding that app as well.
One month by default. Change it in Settings → Clipboard history — anything from a day to forever. Pinned items and anything in a list are never auto-deleted.
Something not covered? Ask us.